In this article, I discuss in detail the steps, hardware, and software required to upgrade your BMW’s navigation computer, display, software, and maps. The information in this article is only applicable to BMWs that speak the same electronics ‘language’. Many BMW models and series speak this same language, utilize the same connectors, and make use of the same hardware-software interface.
Applicable Vehicles:
E38 7-series (1994-2001)
E46 3-series (1999-2006)
E39 5-series (1996-2003)
E53 X5 (2000-2006)
E83 X3 (2004-2010)
*It is important to note that in order to upgrade your navigation system, you must first have a navigation system from factory. Retrofitting navigation to a car that did not originally come with it, while not impossible, is exceedingly challenging, time consuming, and expensive. This article does not cover nor support such an endeavor at this time.
*I will also note that BMWs produced for the Japanese market are not supported in this article. They used completely different wiring harnesses and electronic components for whatever reason, and they do not speak the same ‘language’ as the rest of the cars.
Please read this article and watch these videos in full before commenting with questions. I have gone out of my way to make this article very thorough and comprehensive.
DISCLOSURE: This post may contain affiliate links, meaning when you click the links and make a purchase, we receive a commission.
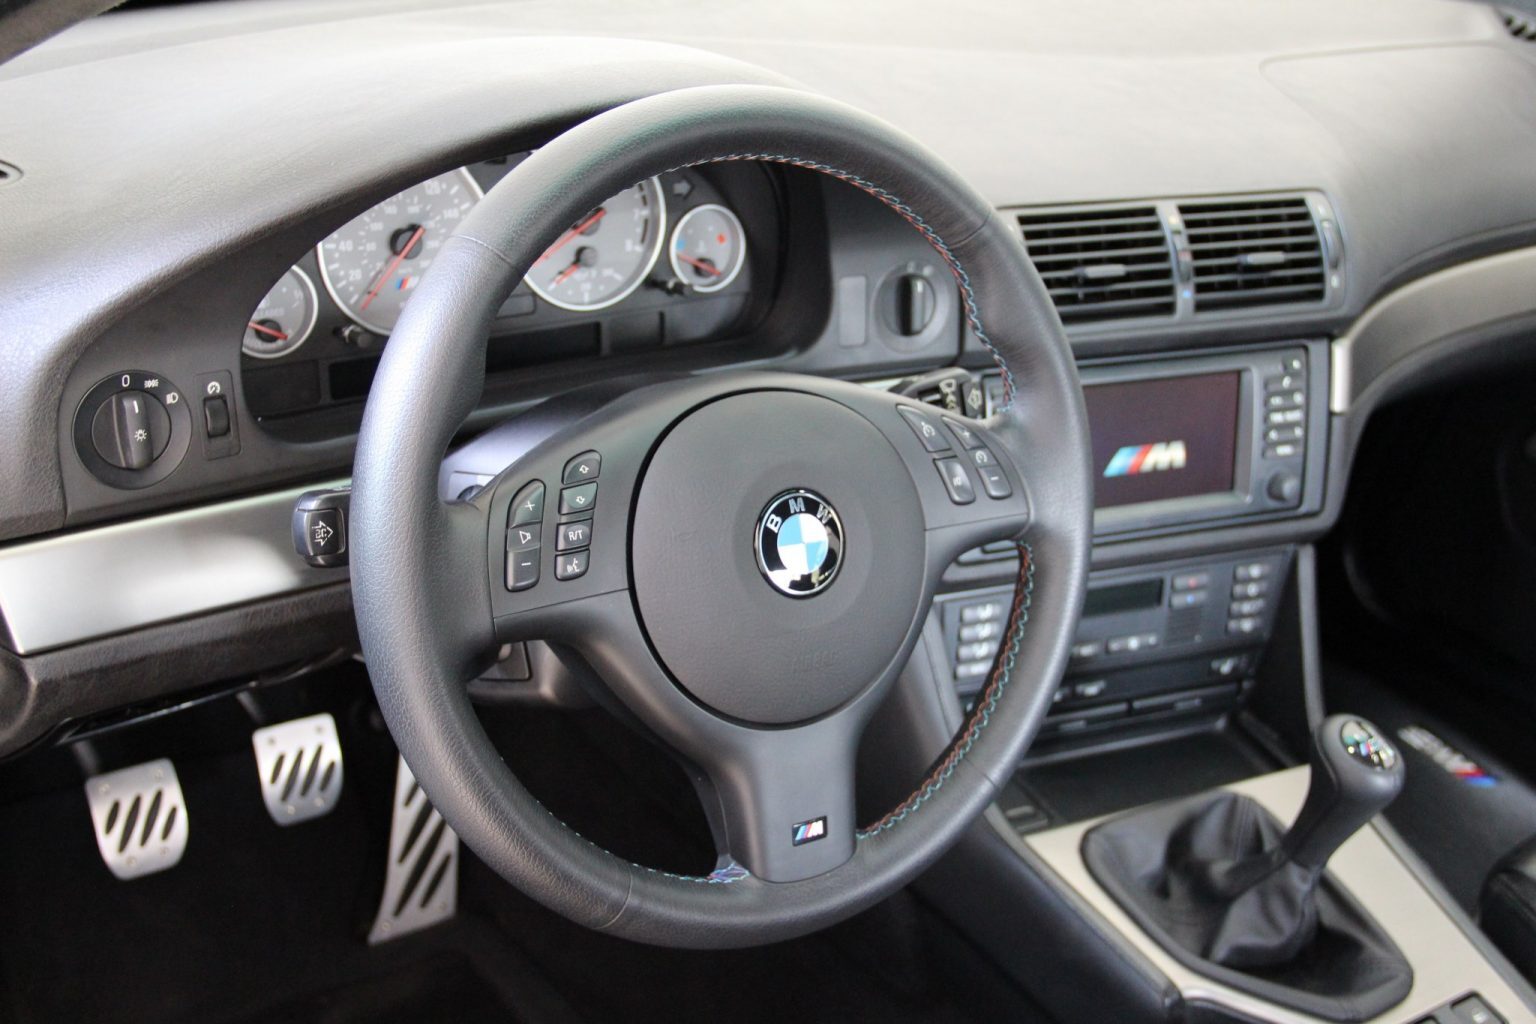
I purchased my 2000 BMW E39 M5 in July of 2010. Per the VIN sticker on the inside B-pillar of the driver’s door, my car was produced 2/00 (February, 2000). This makes it a pre-facelift E39 with navigation. More specifically, it had BMW’s MKII navigation computer, and the 4:3 (small, square) display in the dashboard. Upgrading to the latest available components is actually a very simple process. Very few modifications are required.
At the bottom of this article, you will find four embedded videos that detail the upgrade procedure for an E39 5-series. Other models will be essentially the same process. The first video demonstrates upgrading from a MKII computer to a MKIV, and the 4:3 to 16:9 display. The second video shows the software update process. For select MKIII computers, you will need to reference the third video, which shows how to create and use a Key-CD. The fourth video clearly demonstrates how to make your own MKIV V32 software update disc. The final video is a PSA about fake navigation map DVDs.
We will now move on to identifying the hardware.
NAVIGATION COMPUTERS
MKI
The MKI computer started this generation of BMW navigation systems. The MKI first appeared in 1994 in the E38 7-series, and was moved into the E39 in 1995. The MKI is the slowest system out of the four. It did the job, but took its time and lacked a lot of functionality as well as graphical features when compared to the later models. MKI computers used only CD-ROM maps, had an external compass, and required a trimble module in-between the computer and GPS antenna. The MKI and MKII look mostly identical, and are identifiable by their square eject button. To upgrade from a MKI to anything later, you will need adapter cables as the connections on the MKI are different compared to any succeeding system.
MKII
MKII computers took over for the 1998 model year, and now had the compass built into the still required trimble. Hardware specifications improved, making the system slightly faster. A female voice now replaced the MKI’s male voice, and CD-ROMs were still used for maps. Connections will now be universal moving forward.
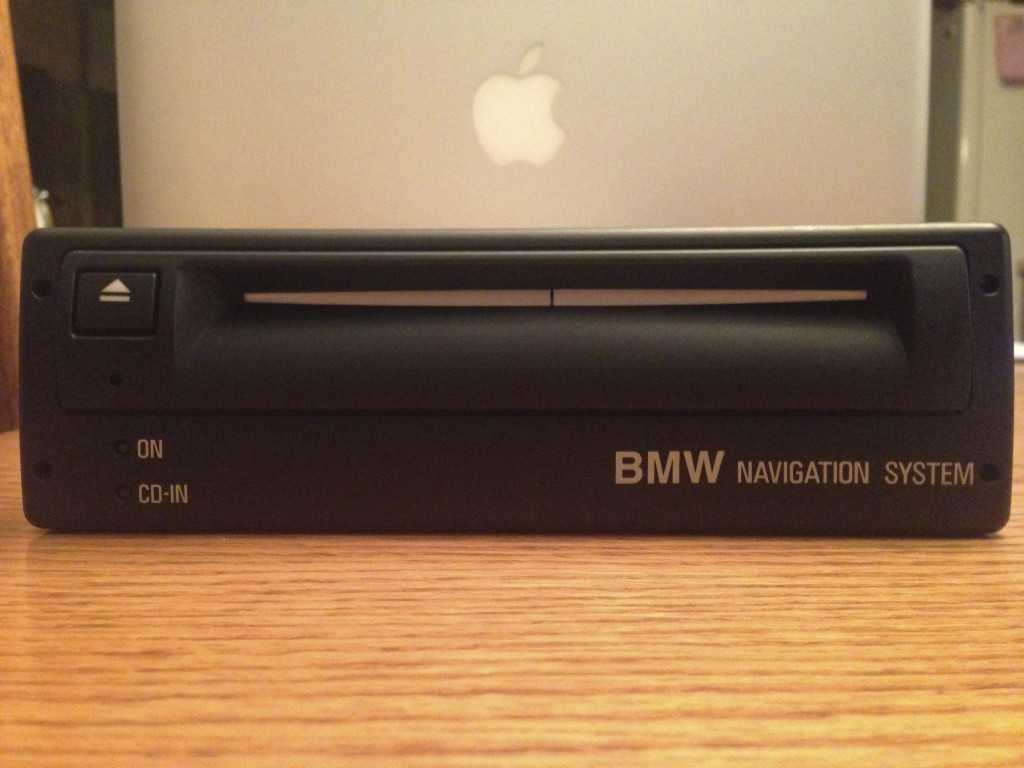 MKII front. MKI looks identical.
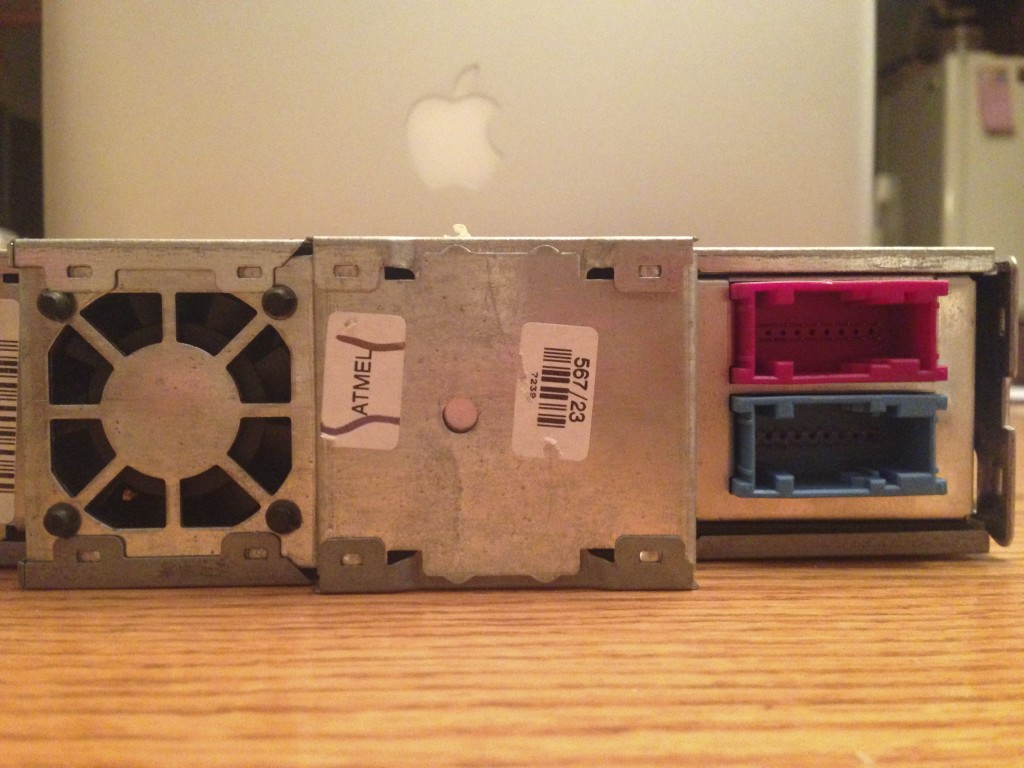 MKII rear. MKI has slightly different rear connectors.
BMW MKII navigation computer front MKII front. MKI looks identical. BMW MKII navigation computer rear MKII rear. MKI has slightly different rear connectors.
MKIII
The MKIII arrived for the 2001 model year in E38 and E39 models. Note that 9/00 production marked the beginning of the 2001 model year. The trimble is now built into the MKIII, meaning that the antenna simply plugs into the back of the computer now. The system is again faster, making the entire experience much smoother. MKIII systems can run vastly improved software versions as well, which offer a huge cosmetic improvement over the MKI and MKII. MKIII computers are the first to handle split-screen mode and significantly better GPS-Navigation function and directions. CD-ROMs are still the only accepted media for maps. The MKIII has a rounded disk eject button.
MKIV
BMW’s MKIV computer is the best available for this generation of cars. The setup is the same as the MKIII, but the MKIV is faster yet, and now supports DVDs for map data in addition to CDs, which means that the entire United States and Canada can fit on two DVDs, instead of eight CDs. Note that as of 2012, there are two DVDs (Eastern US and Western US, both include portions of Canada) due to the amount of detail, and POIs (points of interest). The MKIV computer is the only computer to run the latest V32 software version, and support the 3D ‘perspective’ map view mode. The MKIV has a rounded eject button, and has a “DVD” stamp printed in white on the front, below the disc-loading slot.
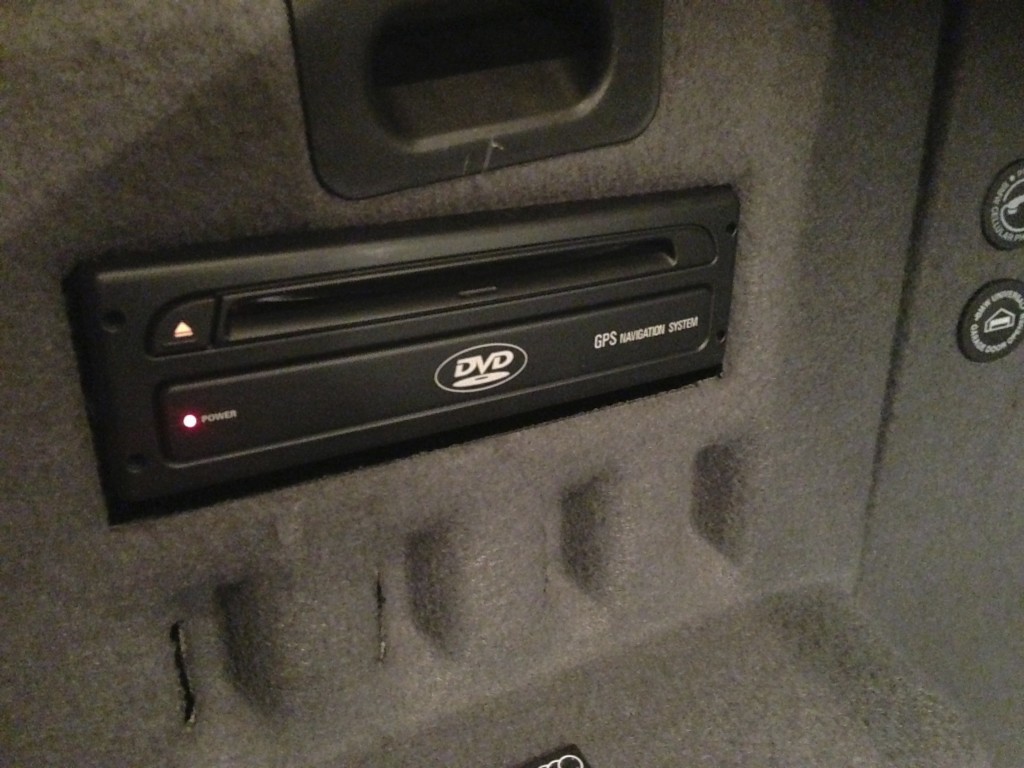 MKIV navigation computer DVD front
MKIV computer. MKIII looks the same, minus the DVD logo.
MKIV navigation computer DVD front
MKIV computer. MKIII looks the same, minus the DVD logo.
UPGRADING NAVIGATION COMPUTERS
Note that nearly all navigation computers are compatible with both the 4:3 and 16:9 display. However, some MKI, MKII, and very early MKIII computers (that originally powered 4:3 displays) do have not new enough software logic to properly output to the 16:9 display. These situations are rare and will cause a rolling, VHS style graphics glitch. Thankfully, there are solutions for this. NavCoder can be used to make the necessary adjustments, or the BlueBus can be used to run some IBUS commands to overcome these issues.
The interface may be stretched or compressed to fit the different aspect ratio displays.
Removing the existing computer involves depressing four metal clips (two on each side of the computer) and wiggling the unit out of its metal housing bracket. No tools are needed for this. When pulled out far enough, you’ll be able to disconnect the blue and purple harnesses.
MKI to MKII
Required adapter cable part number 61128377432 .
MKI to MKIII / MKIV
Required E38 adapter cable part number 61126907840 or E39 adapter cable part number 61126915132 .
MKII to MKIII / MKIV
For this upgrade, you will be required to bypass the trimble. The trimble is a module that works in-between the GPS antenna wire and the navigation computer. The MKIII and MKIV computers have this technology built into the computer itself, so the Trimble is no longer required. We must pull the antenna cable from the trimble, and connect it directly to the MKIII or MKIV. The trimble is located on the back of the amplifier, which will need to be removed so we can access the cable, and remove the trimble altogether if desired. You can also just unplug the antenna lead and leave the Trimble installed. This job is simple, but takes some time to un-screw everything, and disconnect anything in the way (with the car’s battery disconnected). Simply pull the thin GPS antenna and power supply from the trimble, leave the power supply wire hanging, and connect the antenna wire directly to the rear of the MKIII or MKIV computer. The blue and purple connectors will be plug and play.
MKIII to MKIV
Completely plug and play, there are no modifications required. Blue to blue, purple to purple, antenna to antenna.
Touring E39
On a touring E39, you’ll need a GPS antenna extension cable to bypass the trimble when upgrading to MKIII or MKIV computer. This part number is 61128377434 .
NAVIGATION DISPLAYS
BMW used two displays: the 4:3, and the 16:9. The smaller screen was used from 1994-2000 (up to 9/00 production). For the 2001 model year, 9/00 production and later, the 16:9 display took over. The tape deck moved behind the fold-out display, and the buttons now flanked the wider display on either side. 16:9 displays are completely interchangeable between the E53 X5, E38 7-series, and E39 5-series. The E46 3-series got it’s own 16:9 display, which is only compatible on E46 models from a design/fitment perspective.
Upgrading From 4:3 to 16:9
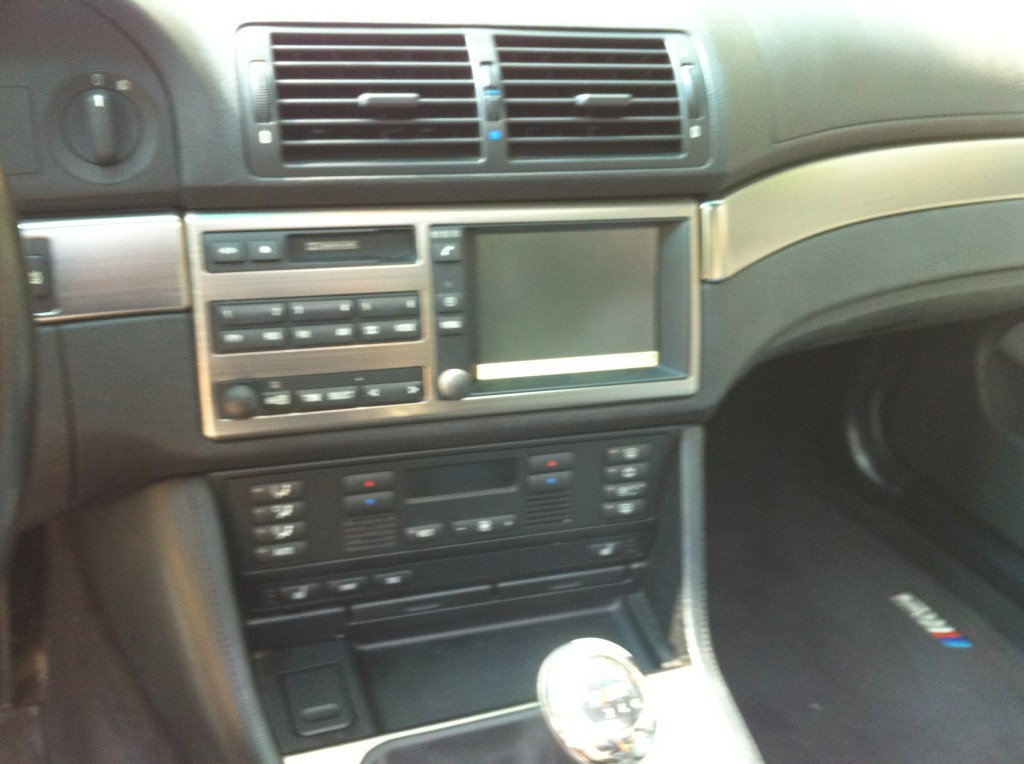 A 4:3 navigation displayed installed in a 02/2000 M5.
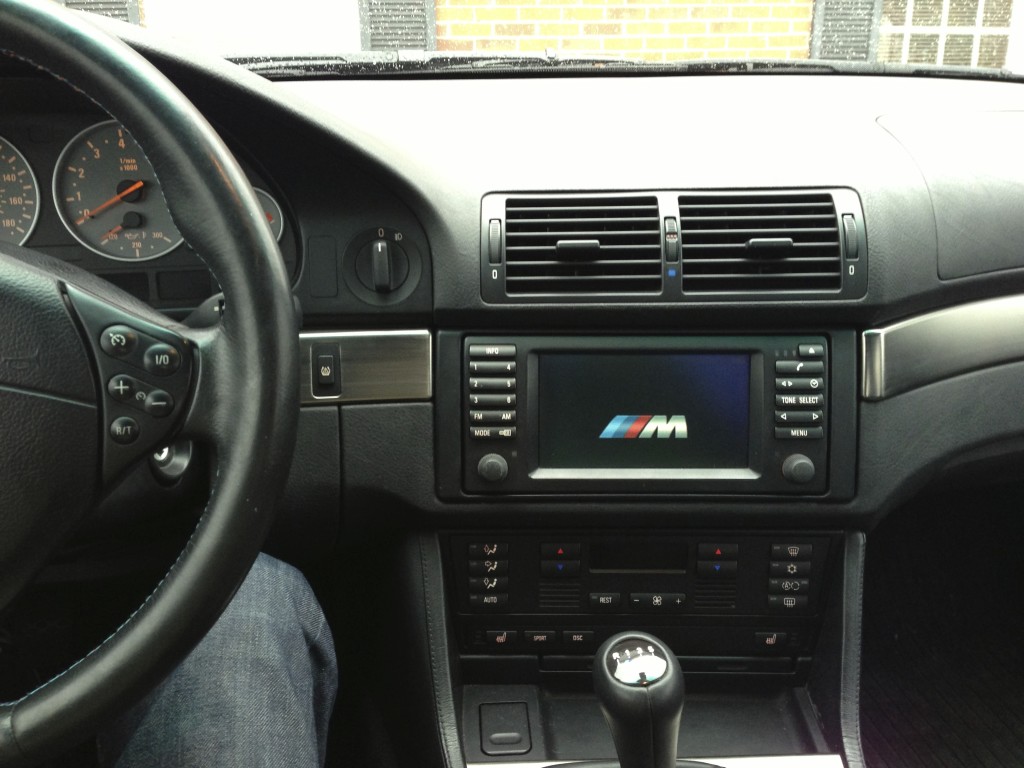
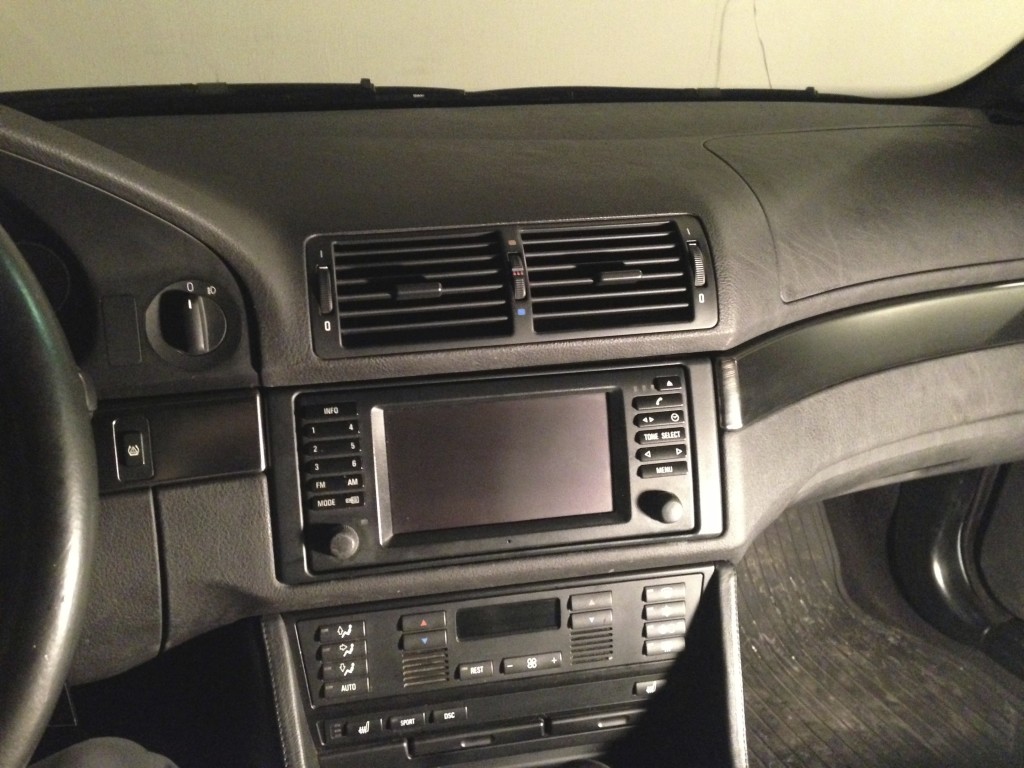 A 16:9 navigation displayed in a 02/2000 M5.
BMW E39 16:9 navigation display A 16:9 navigation displayed in a 02/2000 M5. Note that all navigation computers are compatible with both the 4:3 and 16:9 display. Any mix and match will be compatible, though the graphics may be stretched or compressed to fit the different ratio displays. Upgrading from the 4:3 to the 16:9 unit is plug and play, as shown in the video embedded below. To break that down a bit, there are several steps you must complete to remove the 4:3 display:
- Remove the dashboard trim immediately to the right and left of the display. It simply pulls out, it is held to the dashboard with pegs. Get a grip on one side of it, and pull. Be careful to support all of it as it starts to come out to avoid bending or cracking the trim.
- With the two trim pieces removed, there are two phillips screws that hold the 4:3 display bezel / trim to the display. Remove these screws.
- Looking on the sides of the 4:3 display, there are spring-loaded metal levers that must be pushed up to allow the old trim to pull away from the monitor.
- Unscrew the four screws that hold the 4:3 unit into the car, top-left, top-right, bottom-left, and bottom-center.
- The display should now pull out of the car, held in only by the wiring. There are two large connectors, one white, and one blue. One of these supplies power and speaker connectivity, while the other supplies data from the trunk-mounted navigation computer. Disconnect the cables by rotating the lever that pushes the connector away from the computer.
- Installation is reverse for the 16:9 display. The display bezel just pushes on and clips into place. The 16:9 display bezel is part number 65528385451 .
NAVIGATION SOFTWARE
The software is installed on the navigation computer in the trunk. The term ‘head-unit’ is not really applicable with these BMWs. The computer in the trunk controls the display in the dashboard. The in-dash display is mostly just that, a display. It has some control buttons, and a tape player, but no software logic. Additionally, the map data is completely independent from the software. The software is the operating system for the navigation computer only.
Some software revisions fix little bugs, while some vastly improve performance, graphics, or add new features. If you select “Settings” from the main menu on your current system, you will see a group of numbers in the top right in the format: S/W (software) X-1/YY where ‘X’ is your computer model, MK1, MK2, MK3, or MK4, and ‘YY’ is your software revision number.
Languages: The navigation software does not affect the language options that you currently have. Therefor, installing any of the software versions that we host will leave you with the same language options that you started with. We have been unsuccessful in finding out exactly how to install different language options.
Here are the latest versions for each computer:
MKI: SW 1-1/80 (V24.1) (not sure where to obtain, Google around or check forums )
MKII: SW 2-1/81 (V21) (not sure where to obtain, Google around or check forums )
MKIII: SW 3-1/63 (V23) and Key CD (if needed). More information below.
MKIV: SW 4-1/00 (V32) (Stock BMW software)
MKIV: SW 4-1/00 (V32) (Modified version: ///M logo splash screen, night mode color 2, speed camera alerts, warning bypass)
 4:3 display, MKII running the latest available software /81 (V21)
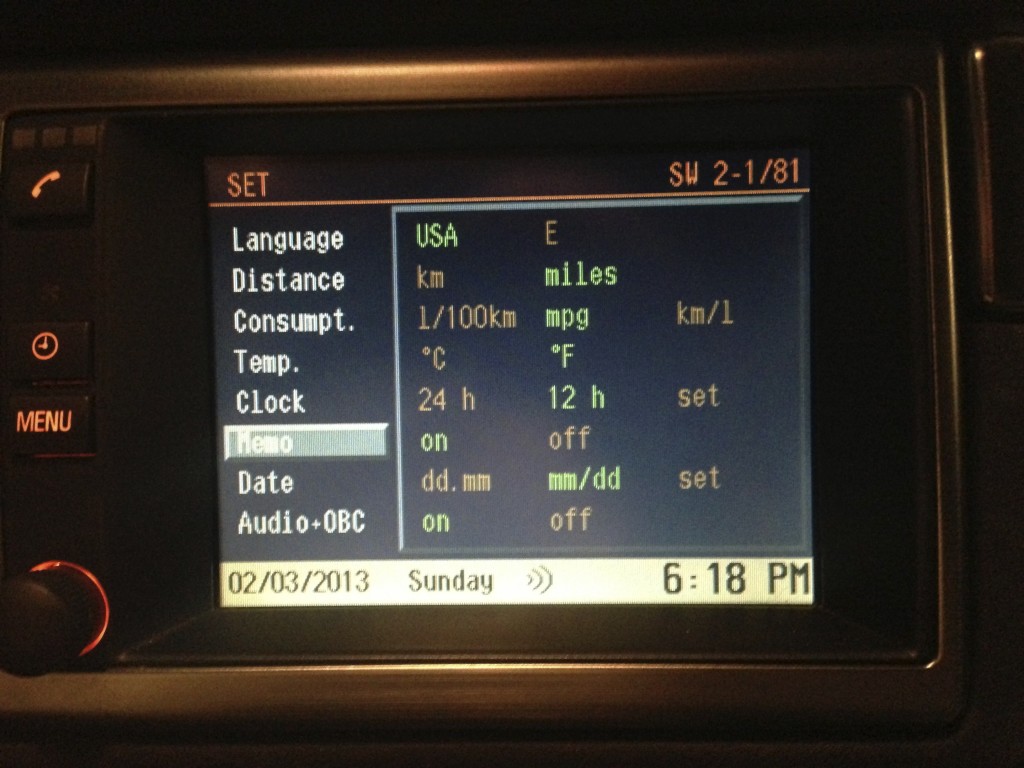 4:3 display, MKII running the latest available software /81 (V21)
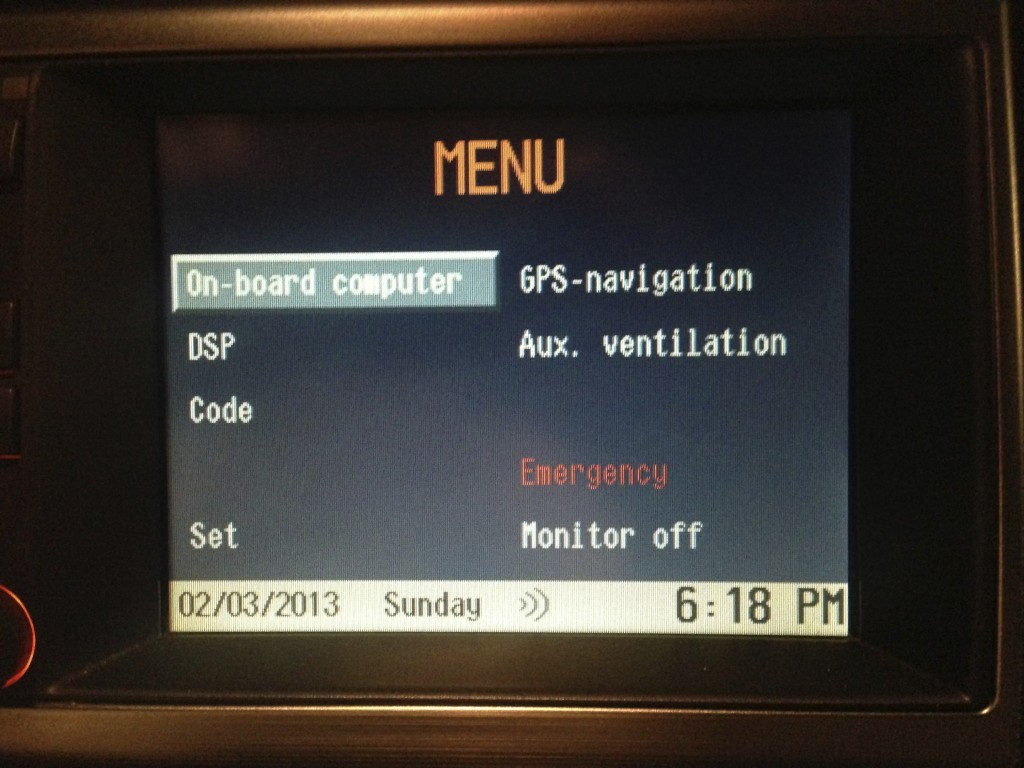
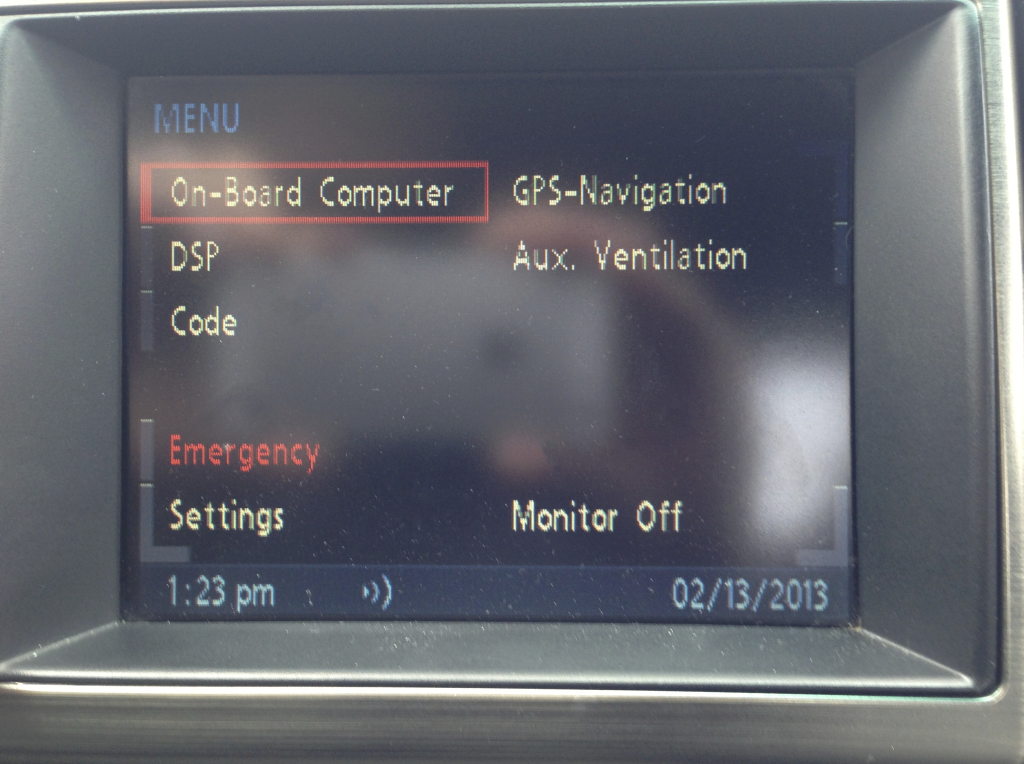 4:3 display, MKIV running the latest available software /00 (V32, modified)
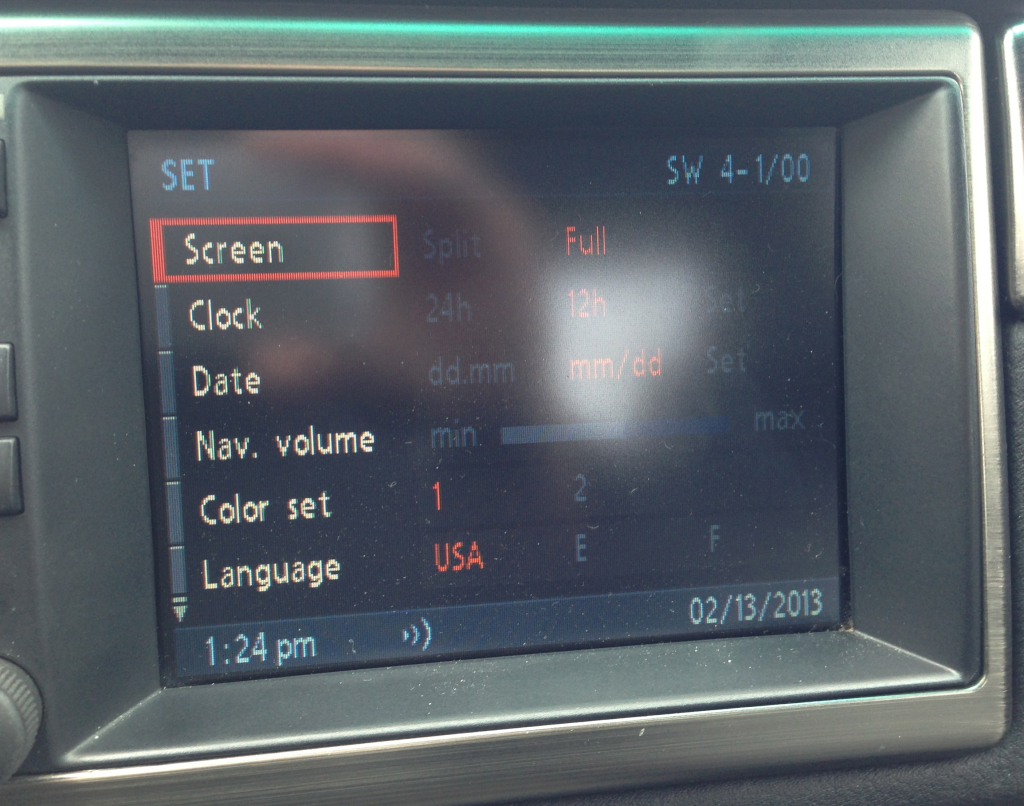 4:3 display, MKIV running the latest available software /00 (V32, modified)
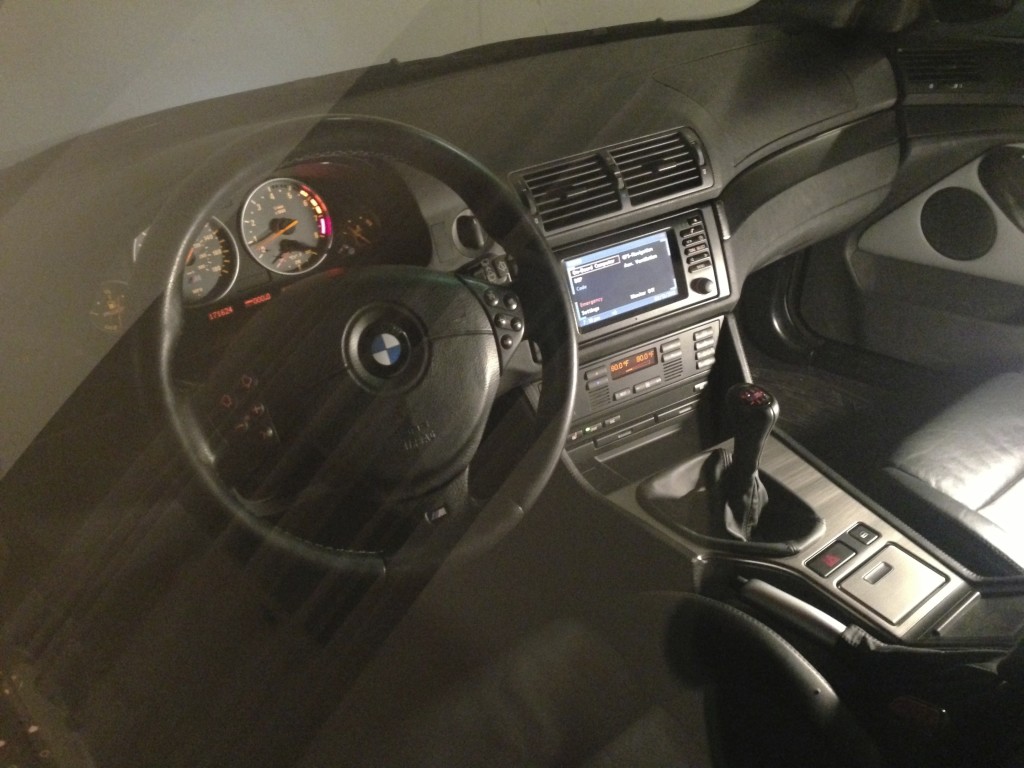 16:9 display and MKIV running the latest available software /00 (V32, modified)
 16:9 display and MKIV running the latest available software /00 (V32, modified)
The latest MKIII software is SW 3-1/63 (V23). Some systems report SW 3-1/65. I can only assume that these are the same. It is not possible to install V32 on a MKIII system.
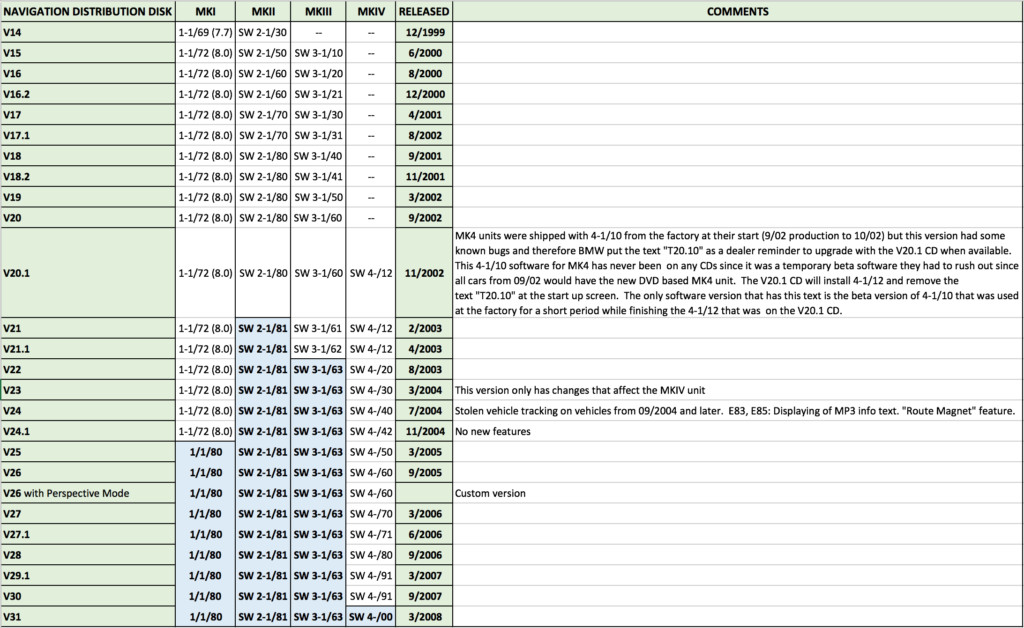 Chart shows revision history of MKI-MKIV computer software. Blue bolded versions are the latest. Click to enlarge.
BMW MKI, MKII, MKIII, MKIV software version table Chart shows revision history of MKI-MKIV computer software. Blue bolded versions are the latest. Click to enlarge.
UPDATING NAVIGATION SOFTWARE
MKIII: The latest V23 navigation file downloads as a .zip file. Extract the .zip file using WinRAR . Now use IMGBurn to burn the .cue file to a CD, as the MKIII computer can’t read DVDs like the MKIV. Use the slowest burn speed possible, and ‘verify’ the burn at the end with IMGBurn. You could also need what is known as a Key CD as well. This is inserted for a moment right after the software update completes. For the Key CD, you will need to burn the .img file to a CD in IMGBurn.
MKIV: You can choose between the stock version and the modified version of the latest V32 software. The modified version eliminates the warning with the ‘accept’ screen, gives a night mode in Color 2 in settings, enables speed cameras (if such data is written to your navigation CD/DVD), and enables the ///M splash boot screen. Once you have downloaded the file you wish to use, extract the file using WinRAR . Now use IMGBurn to burn the .cue file to a CD (yes, MKIV computers can read CDs in addition to DVDs). There is no reason to waste a 4.7GB DVD when you only need a few hundred MBs. Use the slowest burn speed possible, and ‘verify’ the burn at the end with IMGBurn. Follow the last embedded video at the end of this article for visual instructions.
Now that your install disc has been created, it’s time to update your computer’s software.
- Open the driver’s door, this must remain open during the entire procedure.
- Put your key in position 1 (one click, lights on dash, radio on, but gauges not active yet).
- Remove the map CD/DVD from the trunk computer.
- Insert the burned software update CD/DVD. Small delay (maybe 30 seconds) then update screen with progress bar.
- Let the computer think, leave your door open. Installation should take between two and six minutes, depending on which computer you’re using.
- When it’s done, it will say “Software Successfully Loaded”.
- Remove software CD/DVD from trunk, and replace the maps disc.
- Confirm your update by pressing “OK” with the right button.
- The system will now reboot with your new software.
E39Source also hosts NavTweak and NavSpeak . If you know what they are and how to use them, feel free to download them and play. We assume no responsibility for any issues you cause/create with your software. Note that these two files are not necessary at all to update/upgrade your systems. They are available, however, for users to customize and build your own software versions if you wish.
PERSPECTIVE MODE
Since approximately V27 (4-1/70) of the MKIV navigation computer software, there is a hidden or ‘secret’ option to enable 3D ‘perspective’ view maps. Why this feature was never officially enabled or advertised is anyone’s guess… perhaps they were saving it for the iDrive cars. To enable perspective mode, you must have a MKIV computer running V27 software or later. More ‘modern’ maps will bring much better detail at this point. I recommend the 2015 version motioned in the next segment of this article.
To enable:
- Start car and allow the navigation computer to boot up.
- Navigate to the ‘home’ or main menu screen.
- Select and open ‘Settings‘.
- From the settings menu, press and hold the ‘Menu‘ button on your navigation display for 8-10 seconds. This will open the service menu.
- Scroll all of the way down in this menu (first and only option on the next page) to ‘perspective‘. Enable ‘perspective‘.
- Navigate back to ‘GPS-Navigation‘ from the main menu, and then to the map view.
- Use the right push wheel to bring up the options, map view, and select ‘perspective‘.
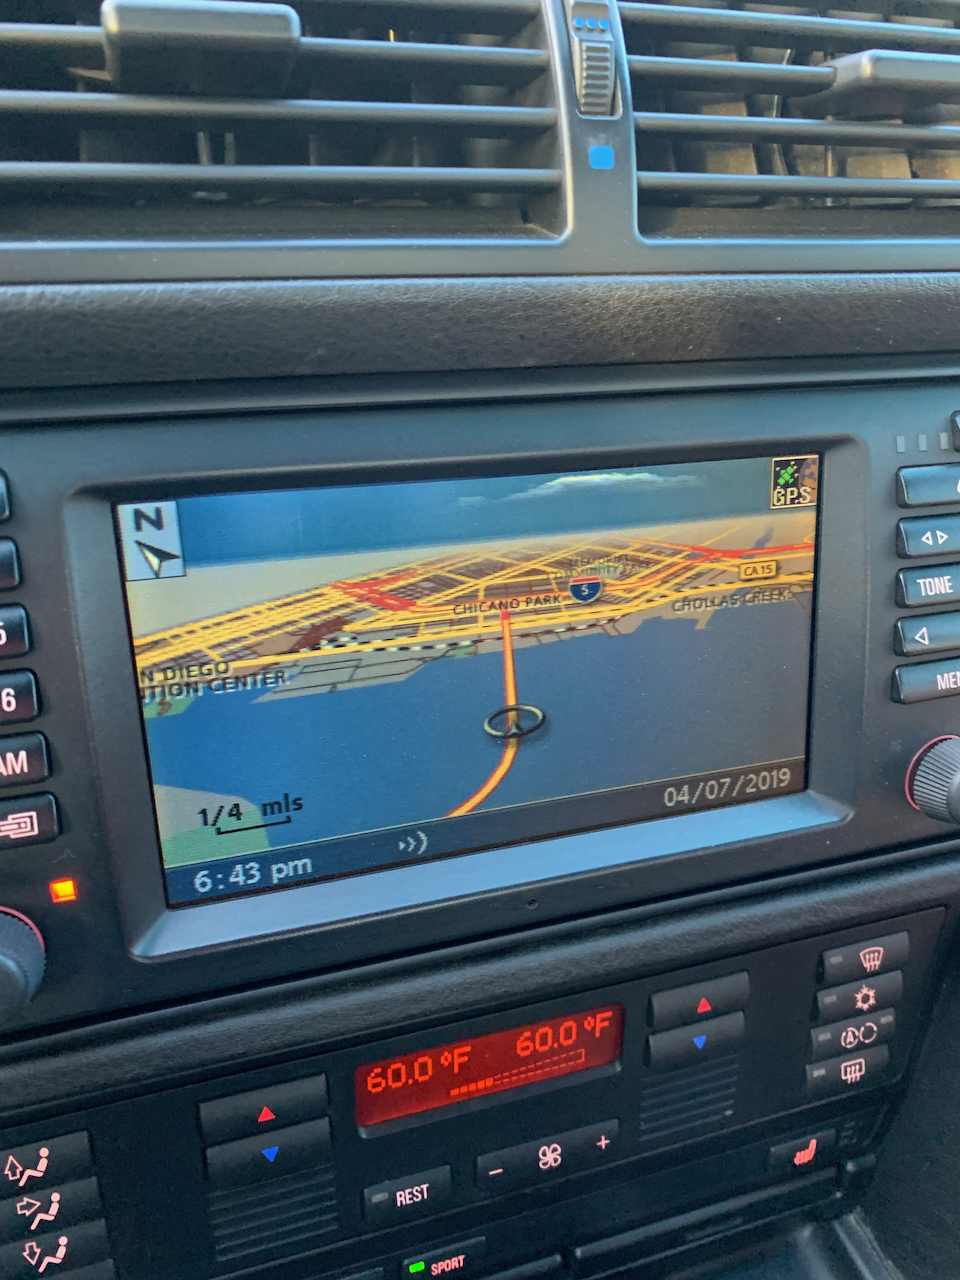 Perspective map view enabled on MKIV computer running V32.
perspective map view enabled on MKIV navigation computer Perspective map view enabled on MKIV computer running V32.
NAVIGATION MAPS
The software that is installed on the computer is purely the operating system. It has nothing to do with the maps and POI (points of interest) that your computer loads. This information comes from map CD/DVDs that are in the computer in the trunk. BMW sold updated map discs every year through 2015, with updates to road networks and POIs. For years, I used the $15 Ebay disks without problems. They are ‘bootleg’ disks that are not made using high quality DVDs, or perhaps even clean data. These disk are known to, eventually, cause failure of the laser inside of your navigation computer. Because of this, I recommend using a Genuine BMW DVD. The latest North American DVD kit (2015) is part number 65902365699 . The choice is yours, but I’ve seen the copied discs take down many otherwise working navigation computers. DVDs are now broken up in two parts, Eastern US/Canada, and Western US/Canada/Mexico. Note that discs labeled “High” are for trunk-loading systems while discs labeled “Professional” are for in-dash iDrive computers, and won’t work on this generation of BMWs. They are not interchangeable.
Please read this article and watch these videos in full before commenting with questions. I have gone out of my way to make this article very thorough and comprehensive.
BMW E39 5-Series MKIV & 16:9 Display Navigation Upgrade DIY
BMW V32 MKIII MKIV Software Update, How-To
BMW V32 MKIII Key CD, How-To
How to Create a BMW MKIV V32 Software Update CD/DVD
PSA: Bootleg E39 Nav DVDs Can Fry your Computer