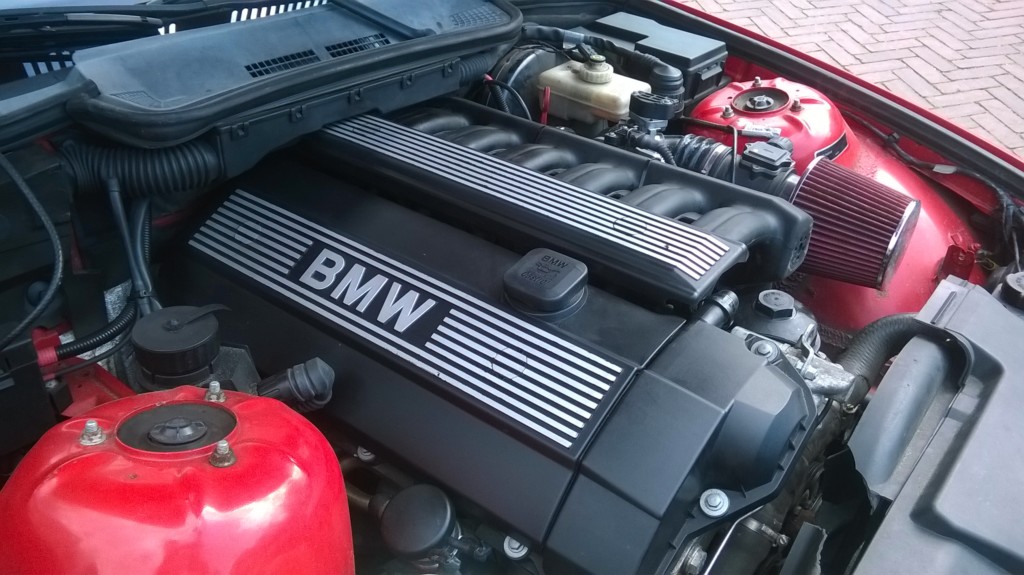
With this modification, your M52B25 or M52B28 engine will make more power. The M52B25 and M52B28 engines can be found in the E36, E39, E38, and in some early E46 models. This is not the easiest modification, but if you are at least a little bit handy, it is not difficult. Some people say that this will gain an additional 20HP, while some say it won’t give you any. I believe that there are power benefits.
Required Tools:
Torx bits
Wrenches, sockets, extensions, ratchets
Dremel
Liquid gasket (pictured below)
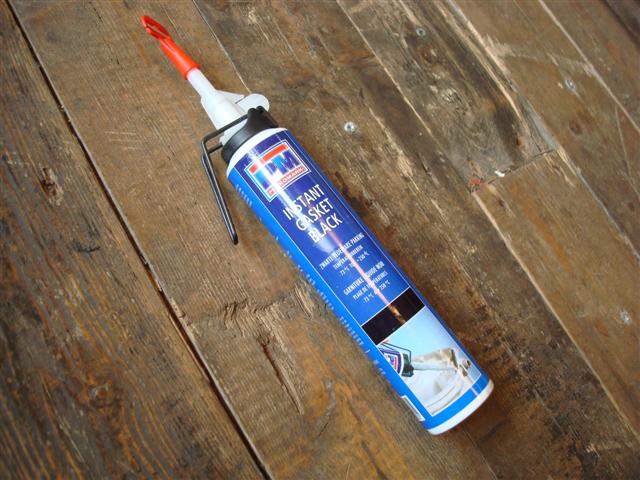
Liquid gasket.
Required Parts:
- M50 intake from a 325i/525i M50B25. The M50B20 intake is different and will not give you extra power. You will know if you have a M50B25 intake if there is 2.5 written on it (see picture below).
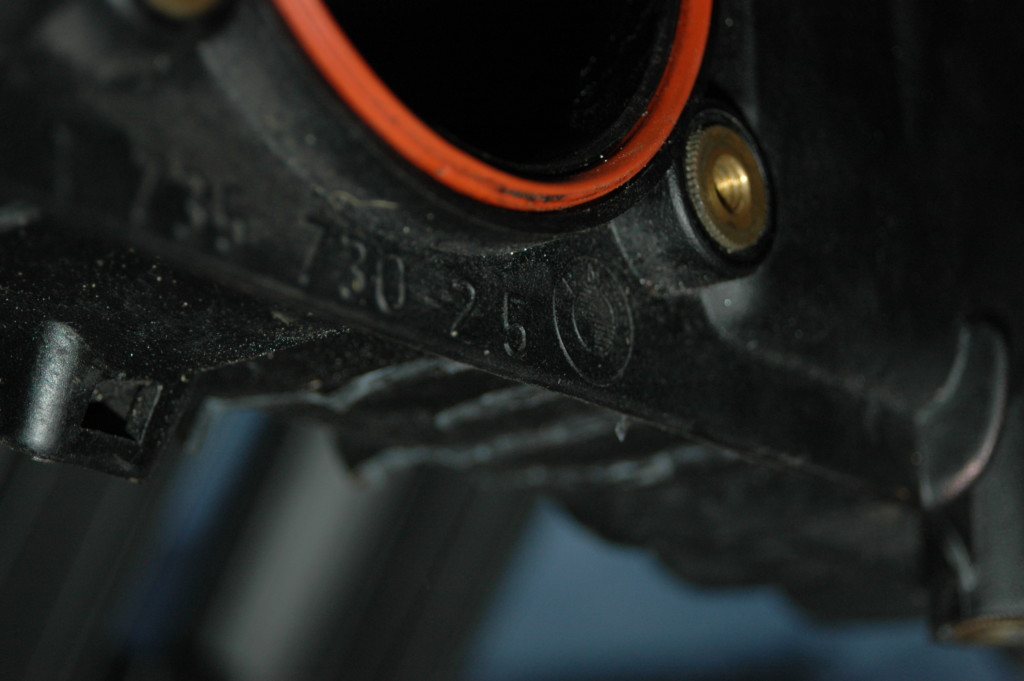
M50B25 intake with 2.5 stamped
Four new M6 bolds, rings and nuts
A old M52 intake to take some parts from (or your original M52 intake, but I prefer to have one working for the shelf)
New gaskets for the intake: (2) 11611717259
Some malleable metal to fill in holes
Gasket for throttle housing: (2) 11611716174
Injector rings: (6) 13641730767
Gasket for the cover (M52 engine part): (1) 11611703779
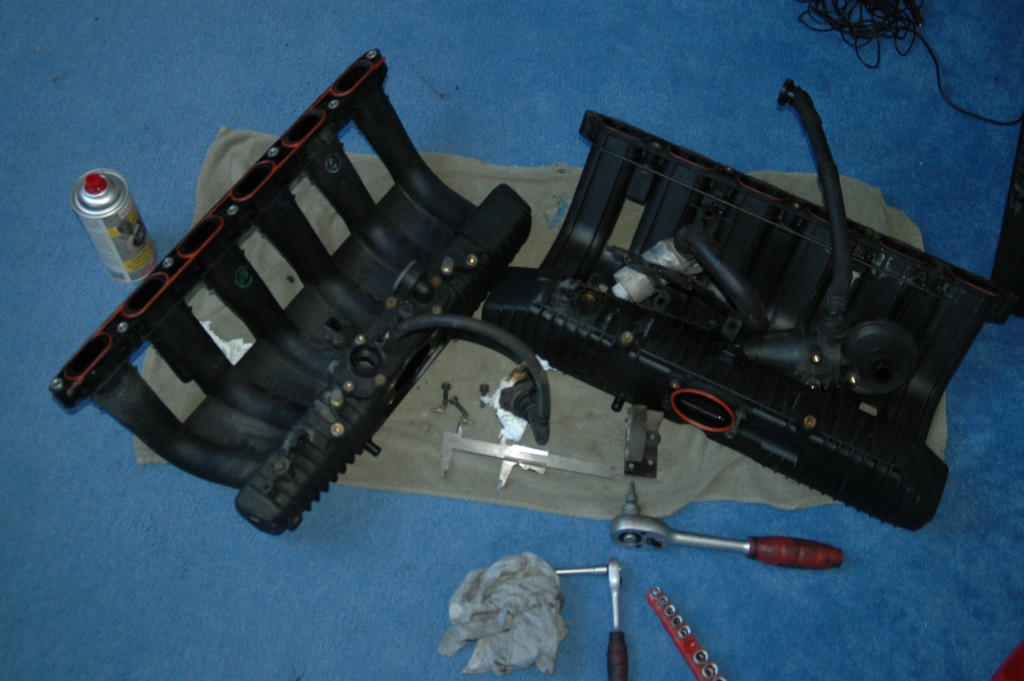
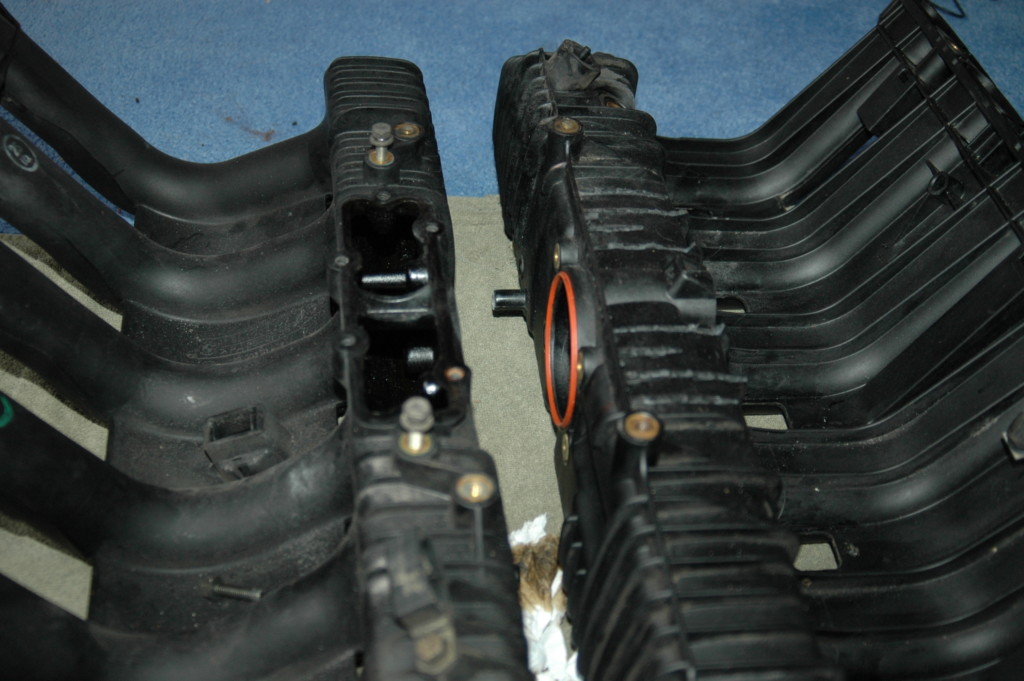
M52 intake on the left, M50 on the right.
Preface
The main difference between the M50 intake and the M52 intake is that the M50 intake holes are each 10mm larger than the M52’s. That is about .39 inches for each bore. Because of this difference, the air flow from the air filter to the intake will be better, which results in more power. My personal experience with the intake is that it will give you more power at higher RPMs, from about 3500-4000. Most people who have done this mod say that you need a M50 throttle housing to fit the M50 intake, but on mine the M50 intake I had just fit the M52 throttle housing, and works perfectly. Also note that it is very important if you want to do this job that you work carefully, otherwise you may create vacuum leaks which will result in a rough running engine.
Procedure:
Start by taking your M52 intake apart. You will need the cover which is on the downside of the M52 intake. In the picture below you see the M52 intake without the cover and the M50 intake on the right side.
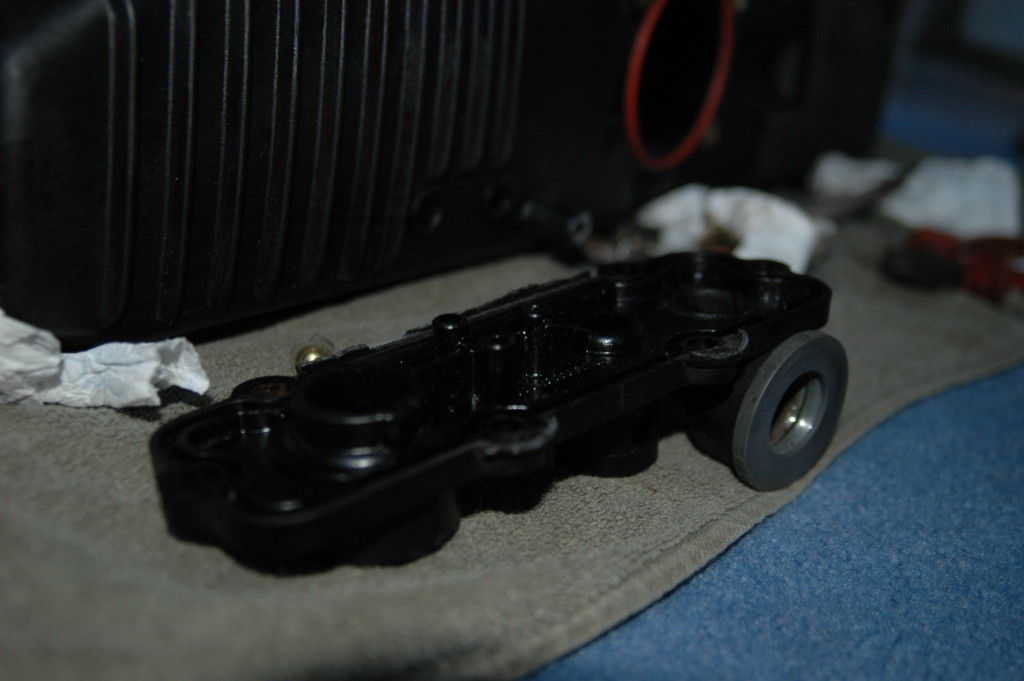
In the photo above, you see the cover that you need from your M52 intake. You need this cover for your PVC breathing system. If you have taken the cover off of the M52 intake, you put it on the M50 intake at the same place as where it is mounted on the M52 intake, and mark the length and width of the cover on the M50 intake. After you have marked the measurements, you cut of the pieces of plastic that are in the way of the M50 intake. See the photos below.
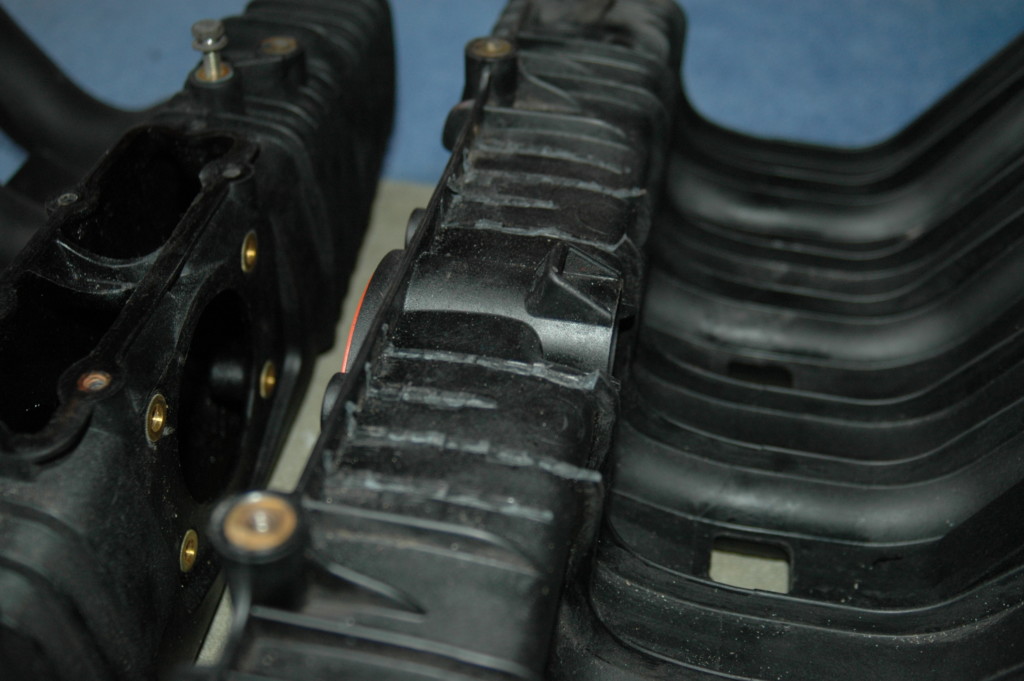
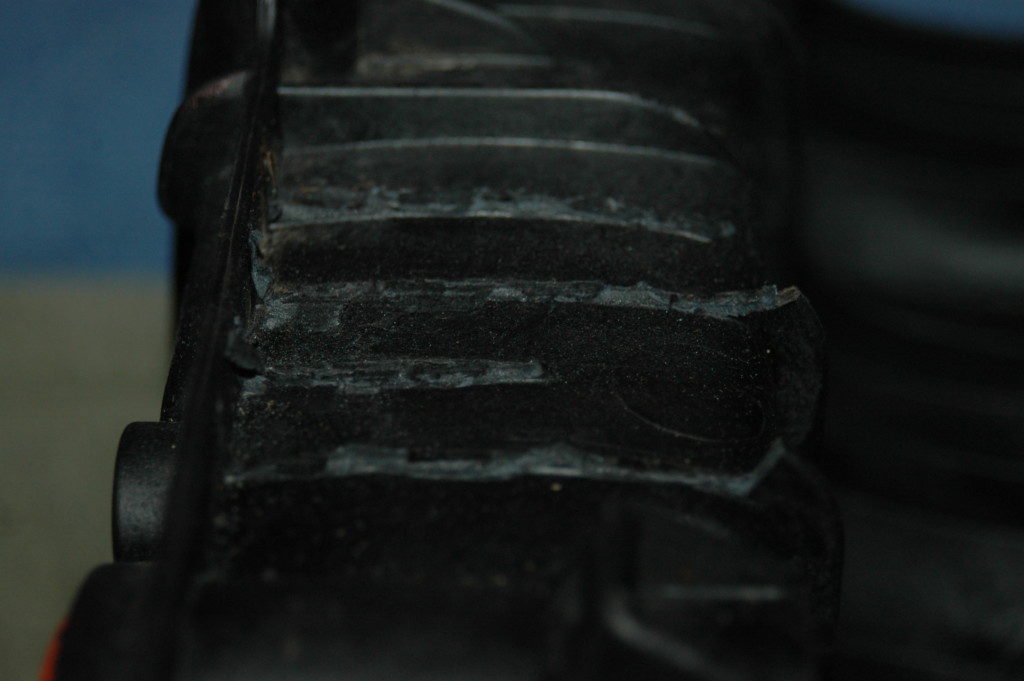
After cutting away the pieces of plastic, you can drill the big hole for the M52 cover. Make sure that you do not drill the hole too big, as you will not be able to drill the holes in the intake for mounting the cover. I have made this mistake so I was not able to mount all the bolts properly. In the picture below, you can see the big hole for the cover. I also have put some liquid gasket next tot the original gap for the PVC breathing system.
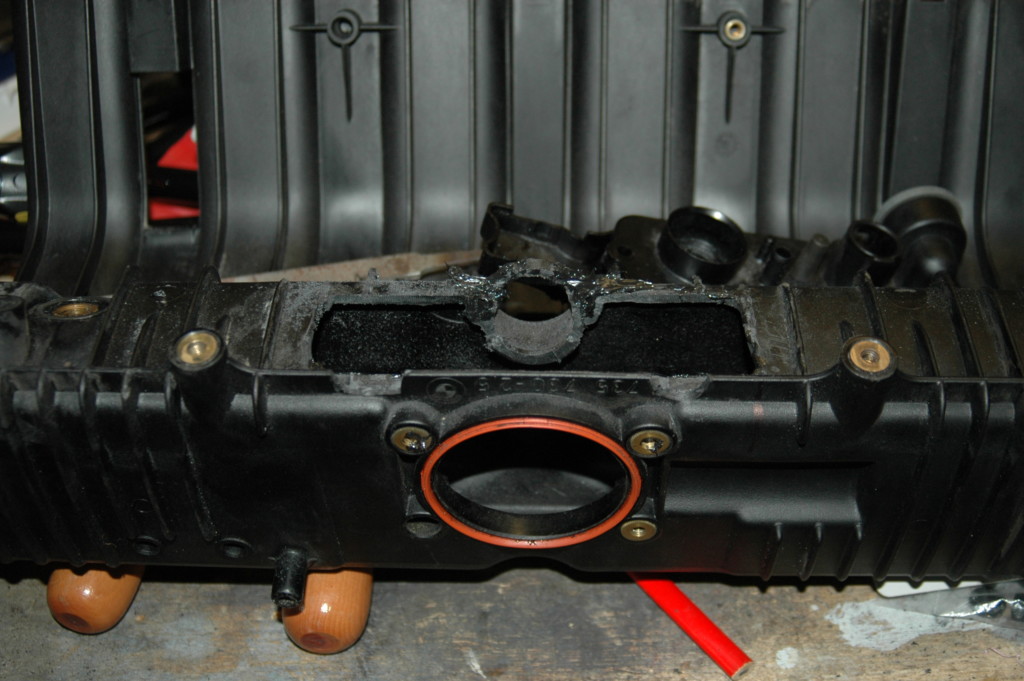
You have to close the original gap for the PVC system on the M50 intake beacause you will use the PVC breathing mounting points from the M52 intake. To close the gap you can machine a metal part for it, or you if you do not have a cutting machine you can use malleable metal, as I have done. But this is not the cleanest way to do it…
Unfortunately I do not have any pics from mounting the cover on the intake. If you are mounting the cover on the intake after you have drilled the holes in the intake for the nuts and bolts, make sure you put enough liquid gasket between the intake and the cap. If you don’t, there is a chance you create a vacuum leak. Also make sure that the original gap for the PVC breathing system is properly closed with malleable metal or a machined piece of metal with liquid gasket covering it.
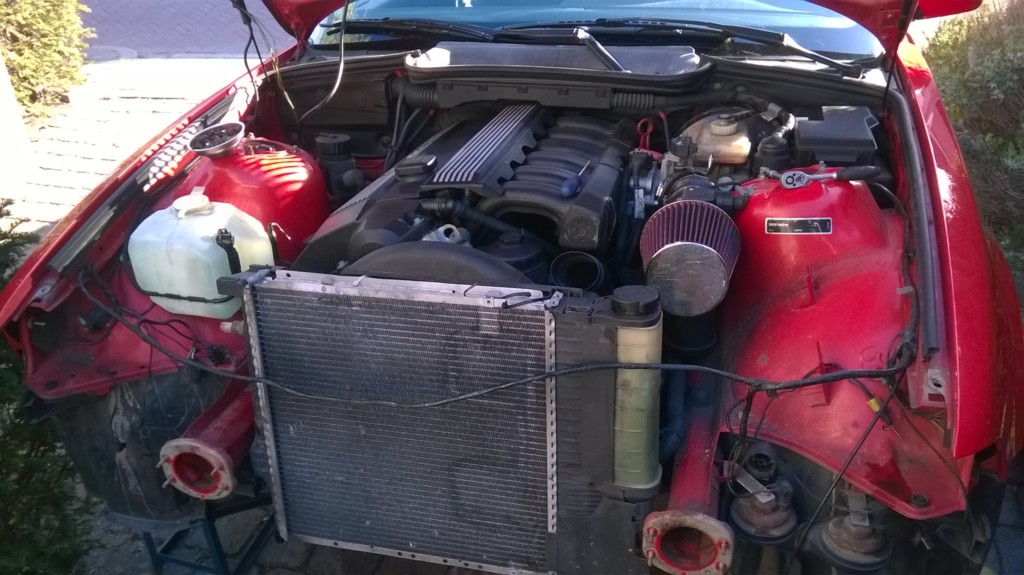
Next, the mounting points of the injector rail are different. After mounting everything together, let it dry for a day and mount it on your engine! Be sure that all the vacuum hoses and connectors are connected well. The center engine cover-plate will not fit properly, but you can change it to a cover plate of a M50 engine so it will fit well again.
If you have any questions or suggestions please leave them in the comments!